What is a .STEP File?
At its core, a .STEP file, short for Standard for the Exchange of Product Data, is a standardized format used for the exchange of 3D product data across various software applications.
It serves as a universal language that allows different 3D modelling tools and most CAD programs ( and their own file formats) to communicate seamlessly with each other.
For more information about this file format, visit our complete blog on what is a STEP file.
Key characteristics of the .STEP file format
1. Compatibility: One of the standout features of .STEP files is their remarkable compatibility. These files can be read and manipulated by a wide array of 3D modeling and CAD programs, transcending the barriers of proprietary formats. Whether you’re using SolidWorks, AutoCAD, or Blender, .STEP files offer a bridge that ensures your 3D models remain accessible and editable across different platforms.
2. Data Integrity: STP files preserve the integrity of your 3D models. They encapsulate not only the geometry but also the assembly structure, materials, and metadata, ensuring that all essential details are retained during the exchange process.
3. Facilitating Collaboration: In a world where collaboration is often a cornerstone of innovation, .STEP files shine as a collaborative tool. They enable engineers, designers, and artists to share their creations seamlessly, allowing for productive cross-disciplinary teamwork.
Significance of Importing .STEP Files into Blender
Whether you’re an architect incorporating pre-made architectural models, a product designer seeking to modify existing components into new version, or an animator merging characters from diverse sources, the ability to import .STEP files into Blender elevates your workflow, enhances your versatility, and ultimately, expands your creative horizons.
How to Import a .STEP File into Blender in 3 steps
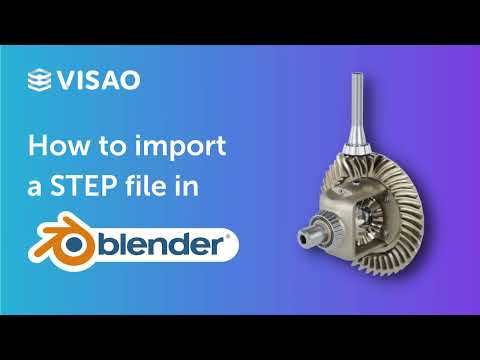
Prefer a quick visual guide? We’ve got you covered! Check out this video recap of the 3 essential steps for smooth importation.
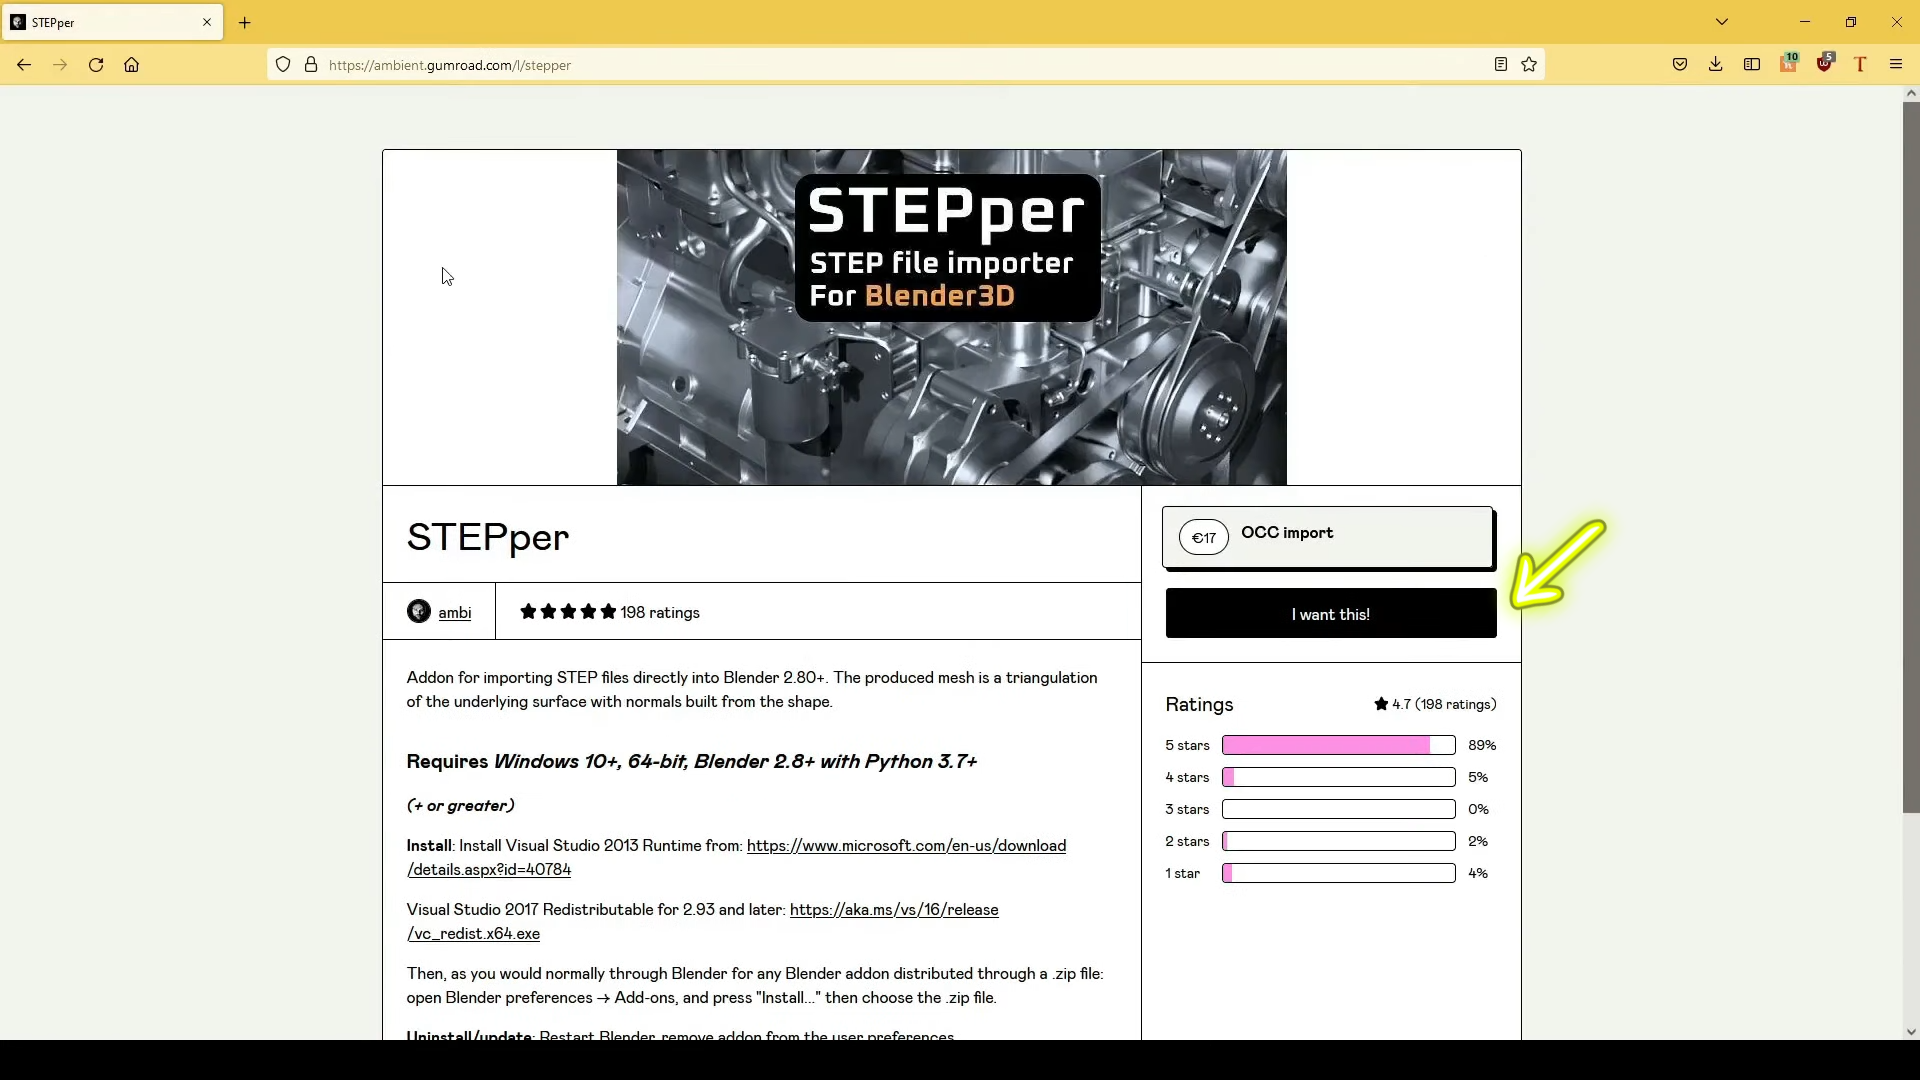
Before we dive into the intricacies of importing .STEP files into Blender, we need to ensure we have the necessary tool in our arsenal. You’ll require a Blender plugin known as “STEPper,” which can be conveniently obtained from the following download link: STEPper Add-On.
As of the latest update, the Windows edition of this Stepper addon plugin is available for purchase at the cost of $18.
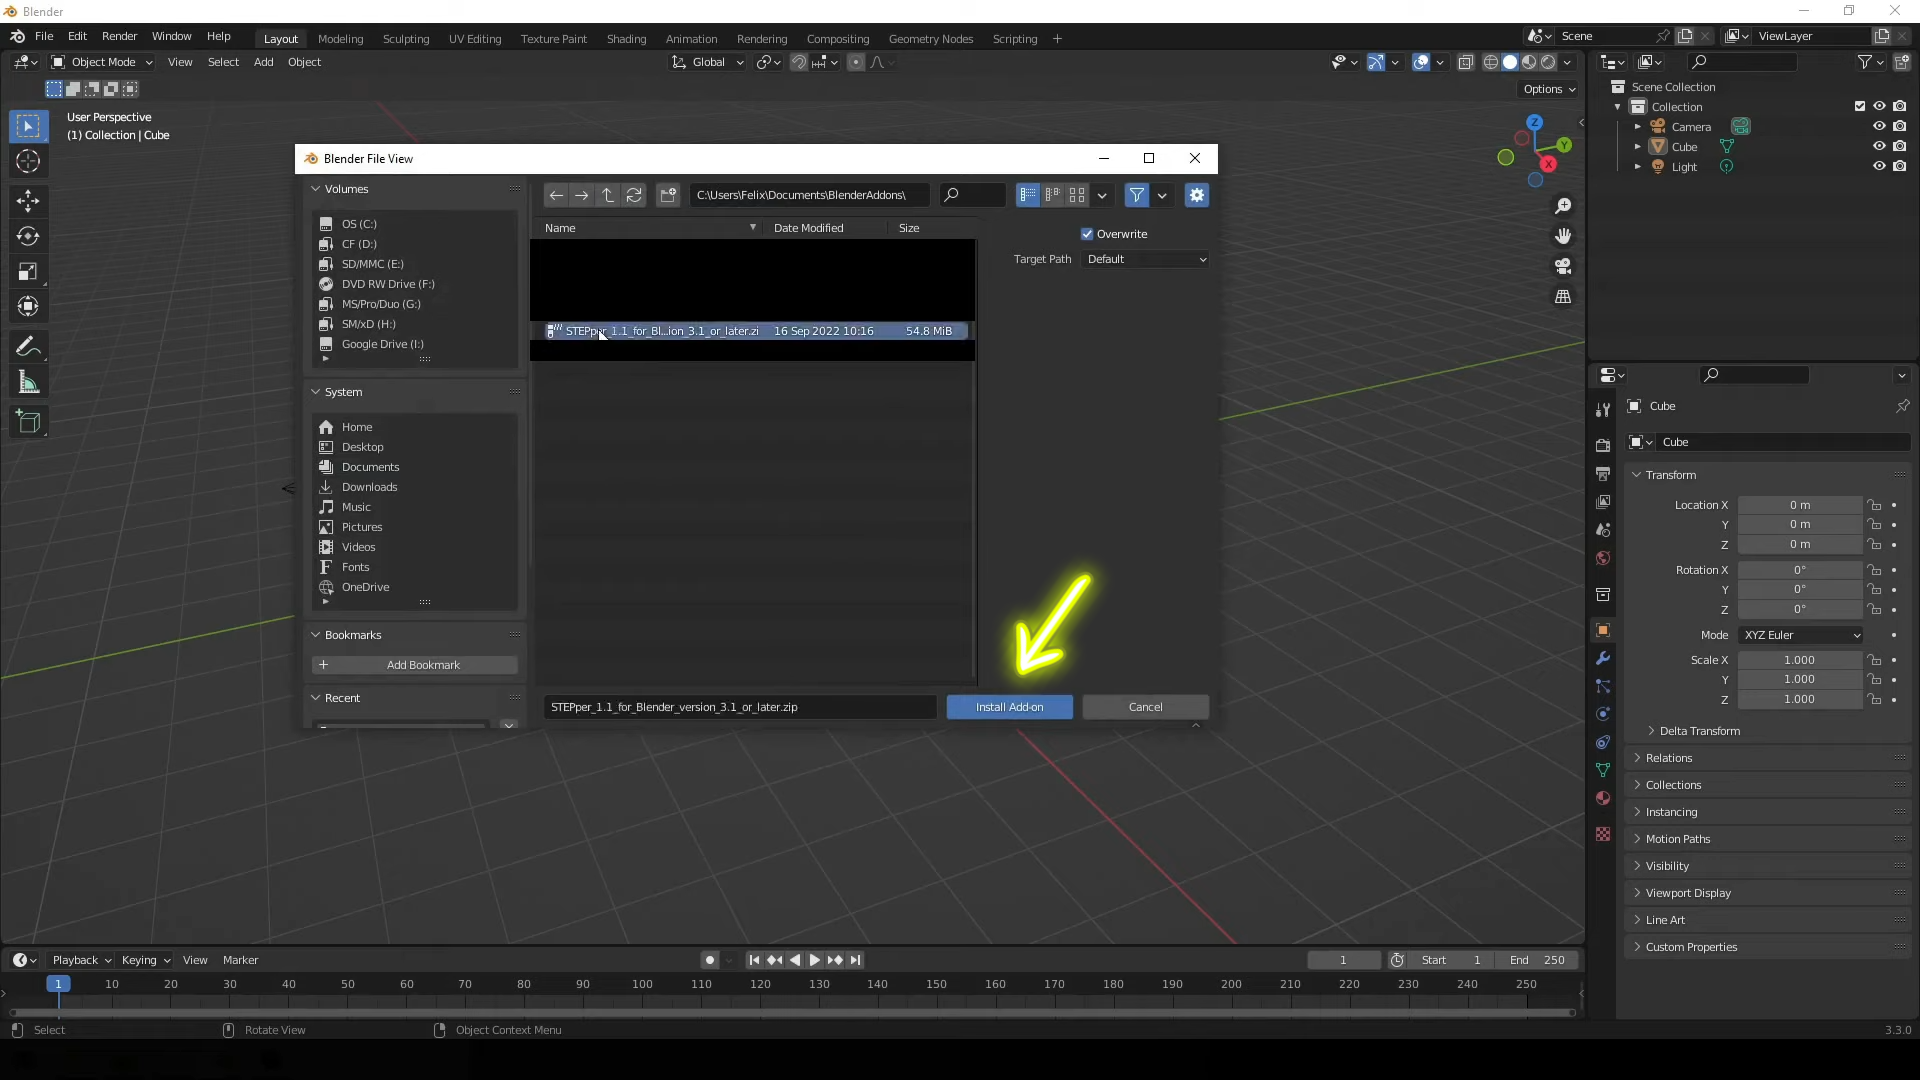
Step 1: Install the Add-On
Now that you’ve secured the essential add-on, let’s get it integrated into your Blender workspace:
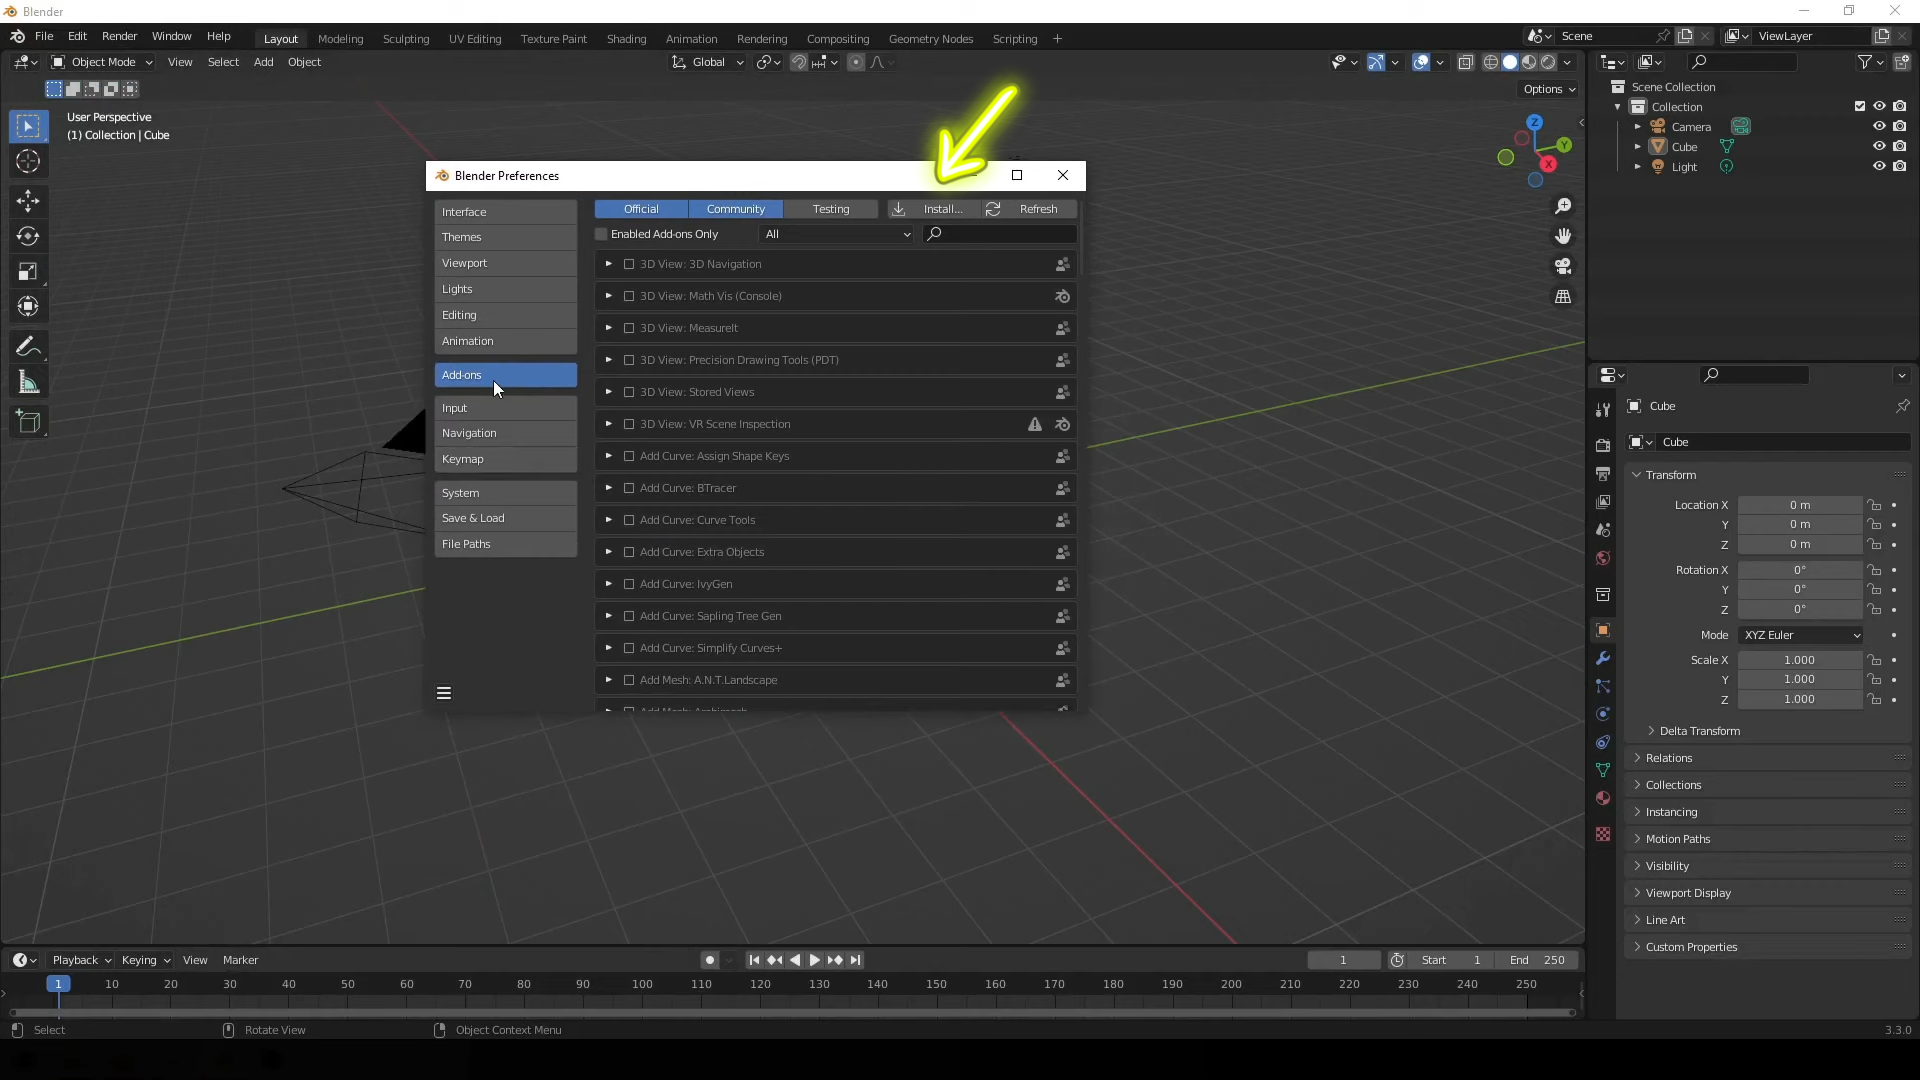
1. Open Blender and navigate to the “Preferences” menu.
2. Inside “Preferences,” click on the “Add-ons” tab, usually found on the left side.
3. In the top-right corner of the “Add-ons” window, you’ll notice an “Install” button. Click on it.
4. Locate the downloaded “STEPper” add-on file on your computer, and select it.
5. With the add-on file selected, click “Install Add-on.”
Step 2: Prepare Your Blender Scene for the conversion process
Now that we have our .stp files import tool ready, it’s time to prepare and create our canvas. This begins with a clean BLEND file:
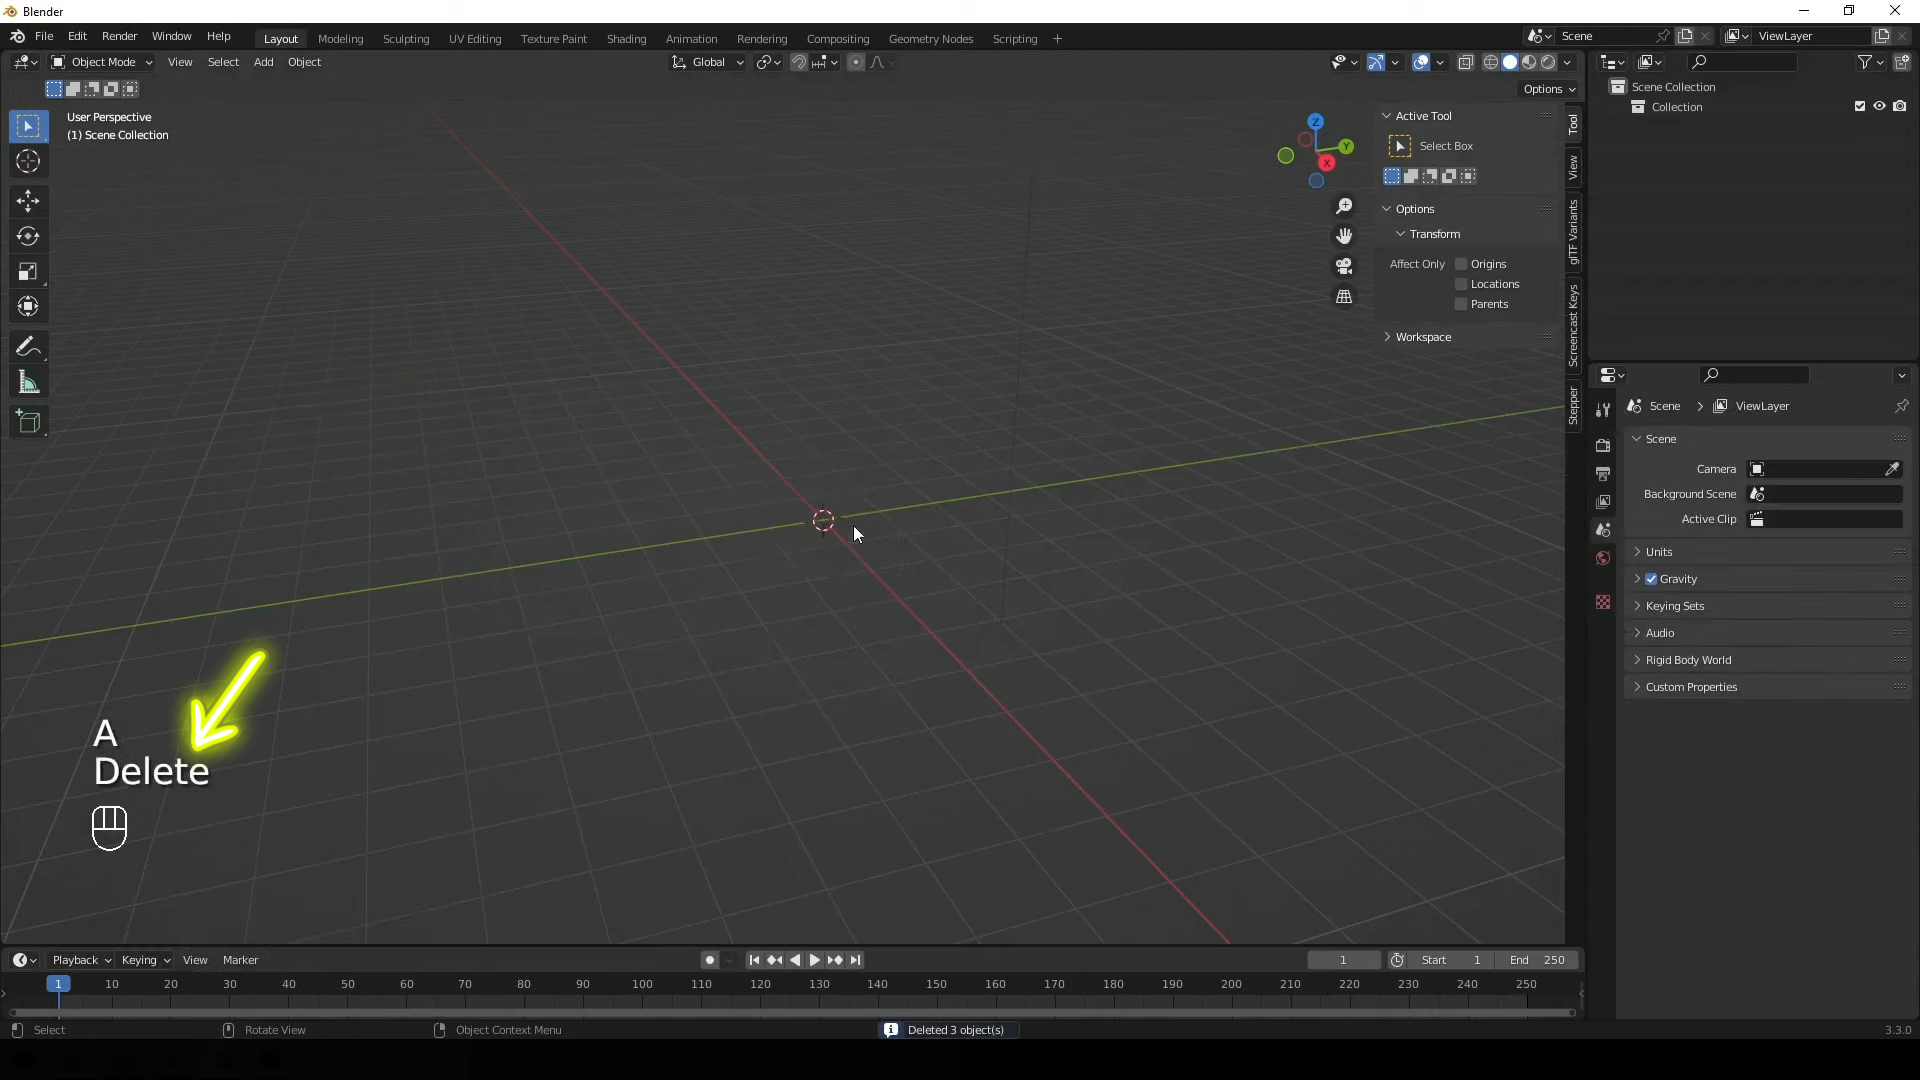
It’s essential to clear your Blender scene by removing all pre-existing objects. This step ensures that you’re starting with an empty workspace, devoid of any clutter.
A clean slate provides the ideal foundation for your new 3D model to take shape.
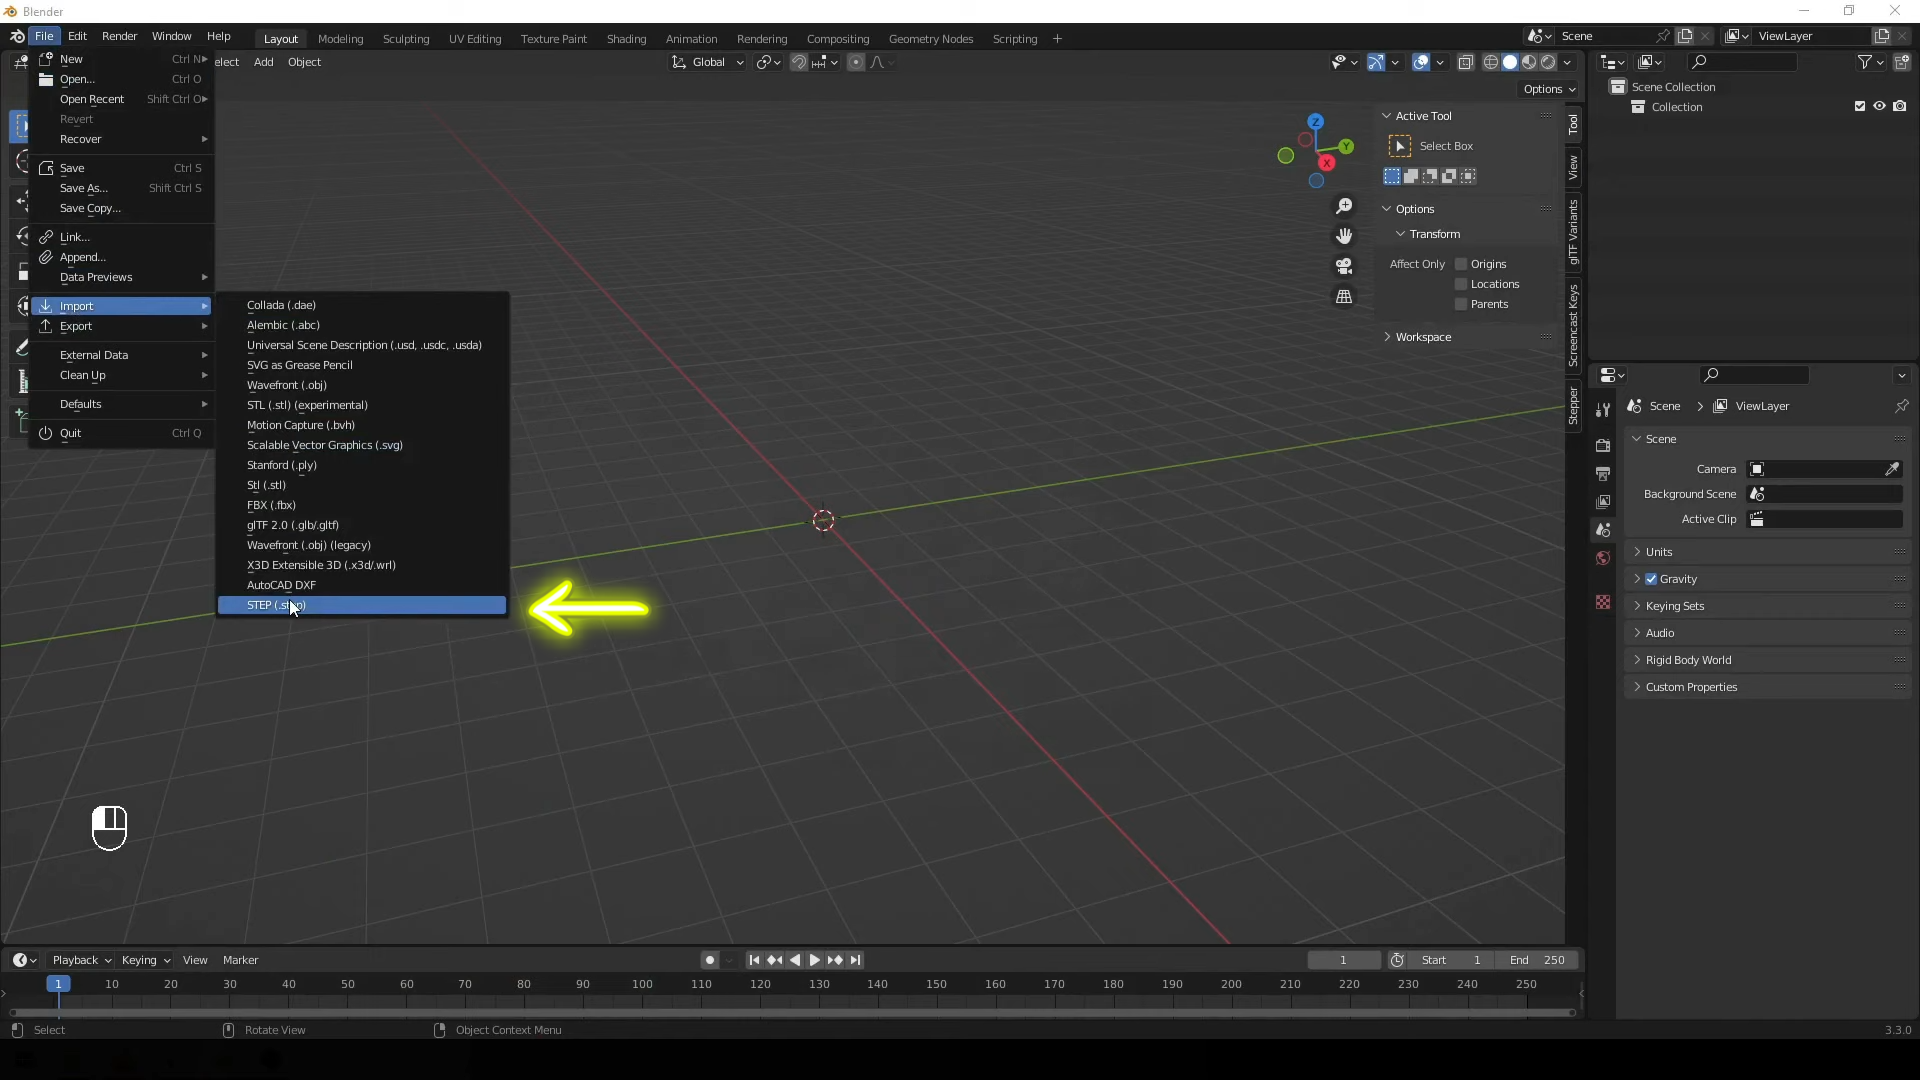
Step 3: Import the .STEP File
1. Navigate to the “File” menu, located at the top-left corner of Blender’s interface.
2. Hover your cursor over the “Import” option in the dropdown menu.
3. From the submenu that appears, select “STEP.”
4. A file dialog will open, prompting you to choose the .STEP file you wish to import. Click on the desired .STEP file.
5. As you do so, take note of the “Custom Scale” option. It plays a crucial role in ensuring your imported model’s size is appropriate. We recommend setting this to “0.001” for most cases, but adjust it as needed for your specific project.
6. For the hierarchy of your imported objects, it’s wise to choose the “Flat Collection” option. This helps organize your model’s components neatly within your BLEND file.
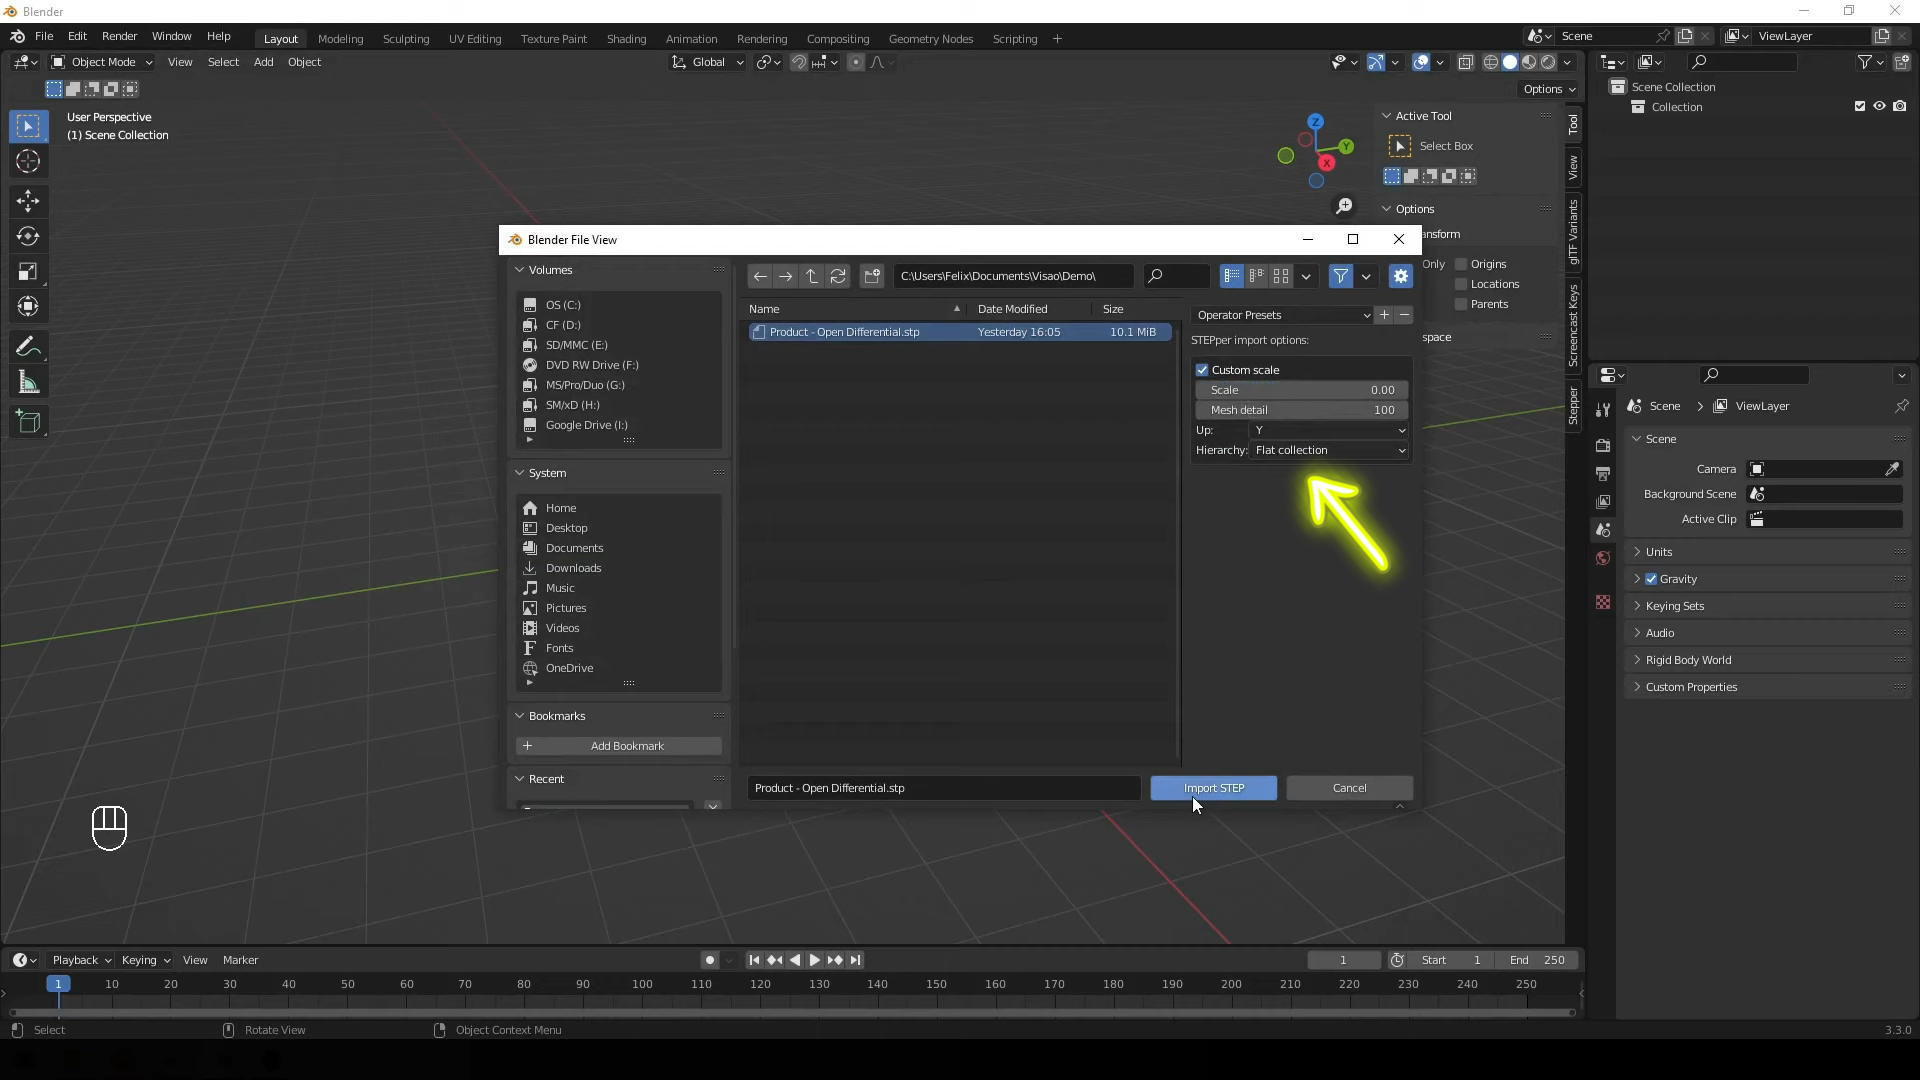
7. Finally, click the “Import” button to initiate the process. Your chosen .STEP file will now be seamlessly imported into Blender.
Need Blender expert help?
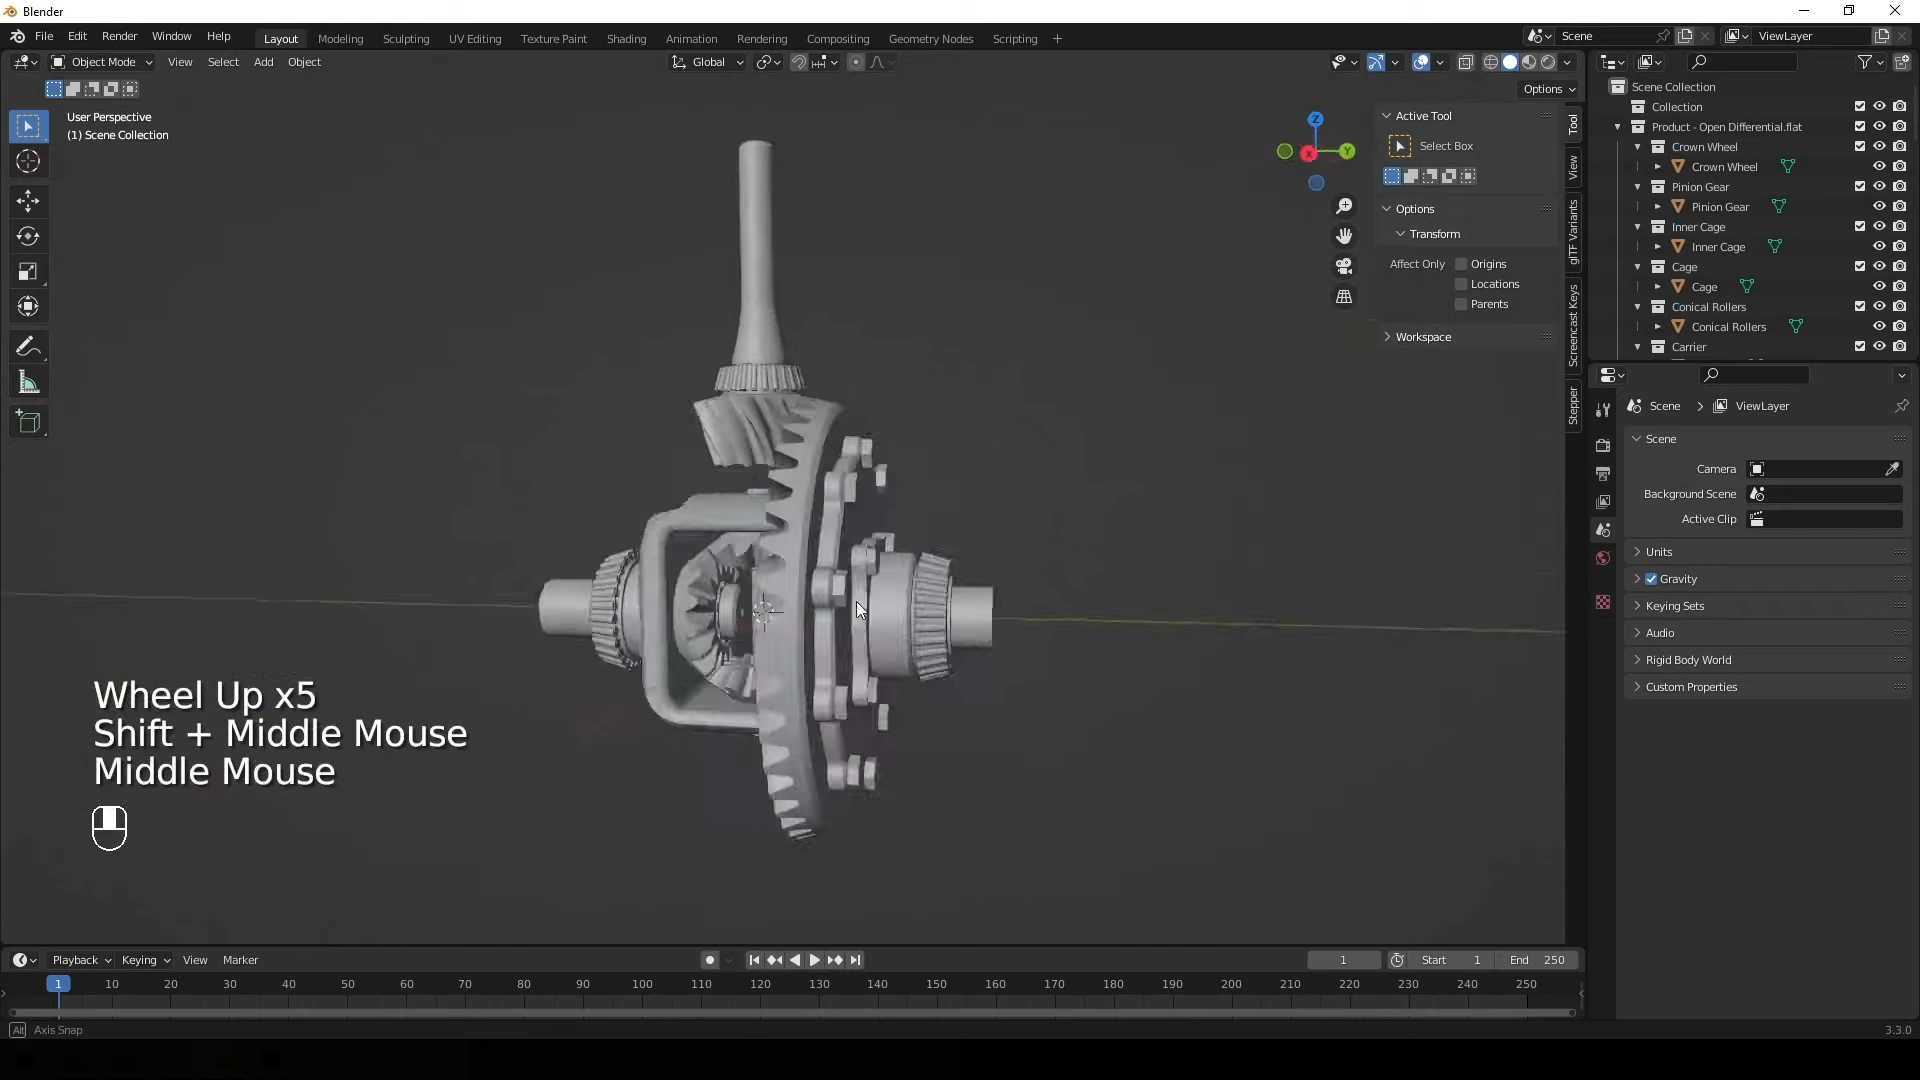
With the .STEP file successfully imported, Blender users have a powerful asset at your disposal, ready to be harnessed for modeling, mesh data, animation, or any creative endeavor created within Blender. The possibilities are boundless, and your journey into the world of 3D design and visualization has just taken a significant leap.
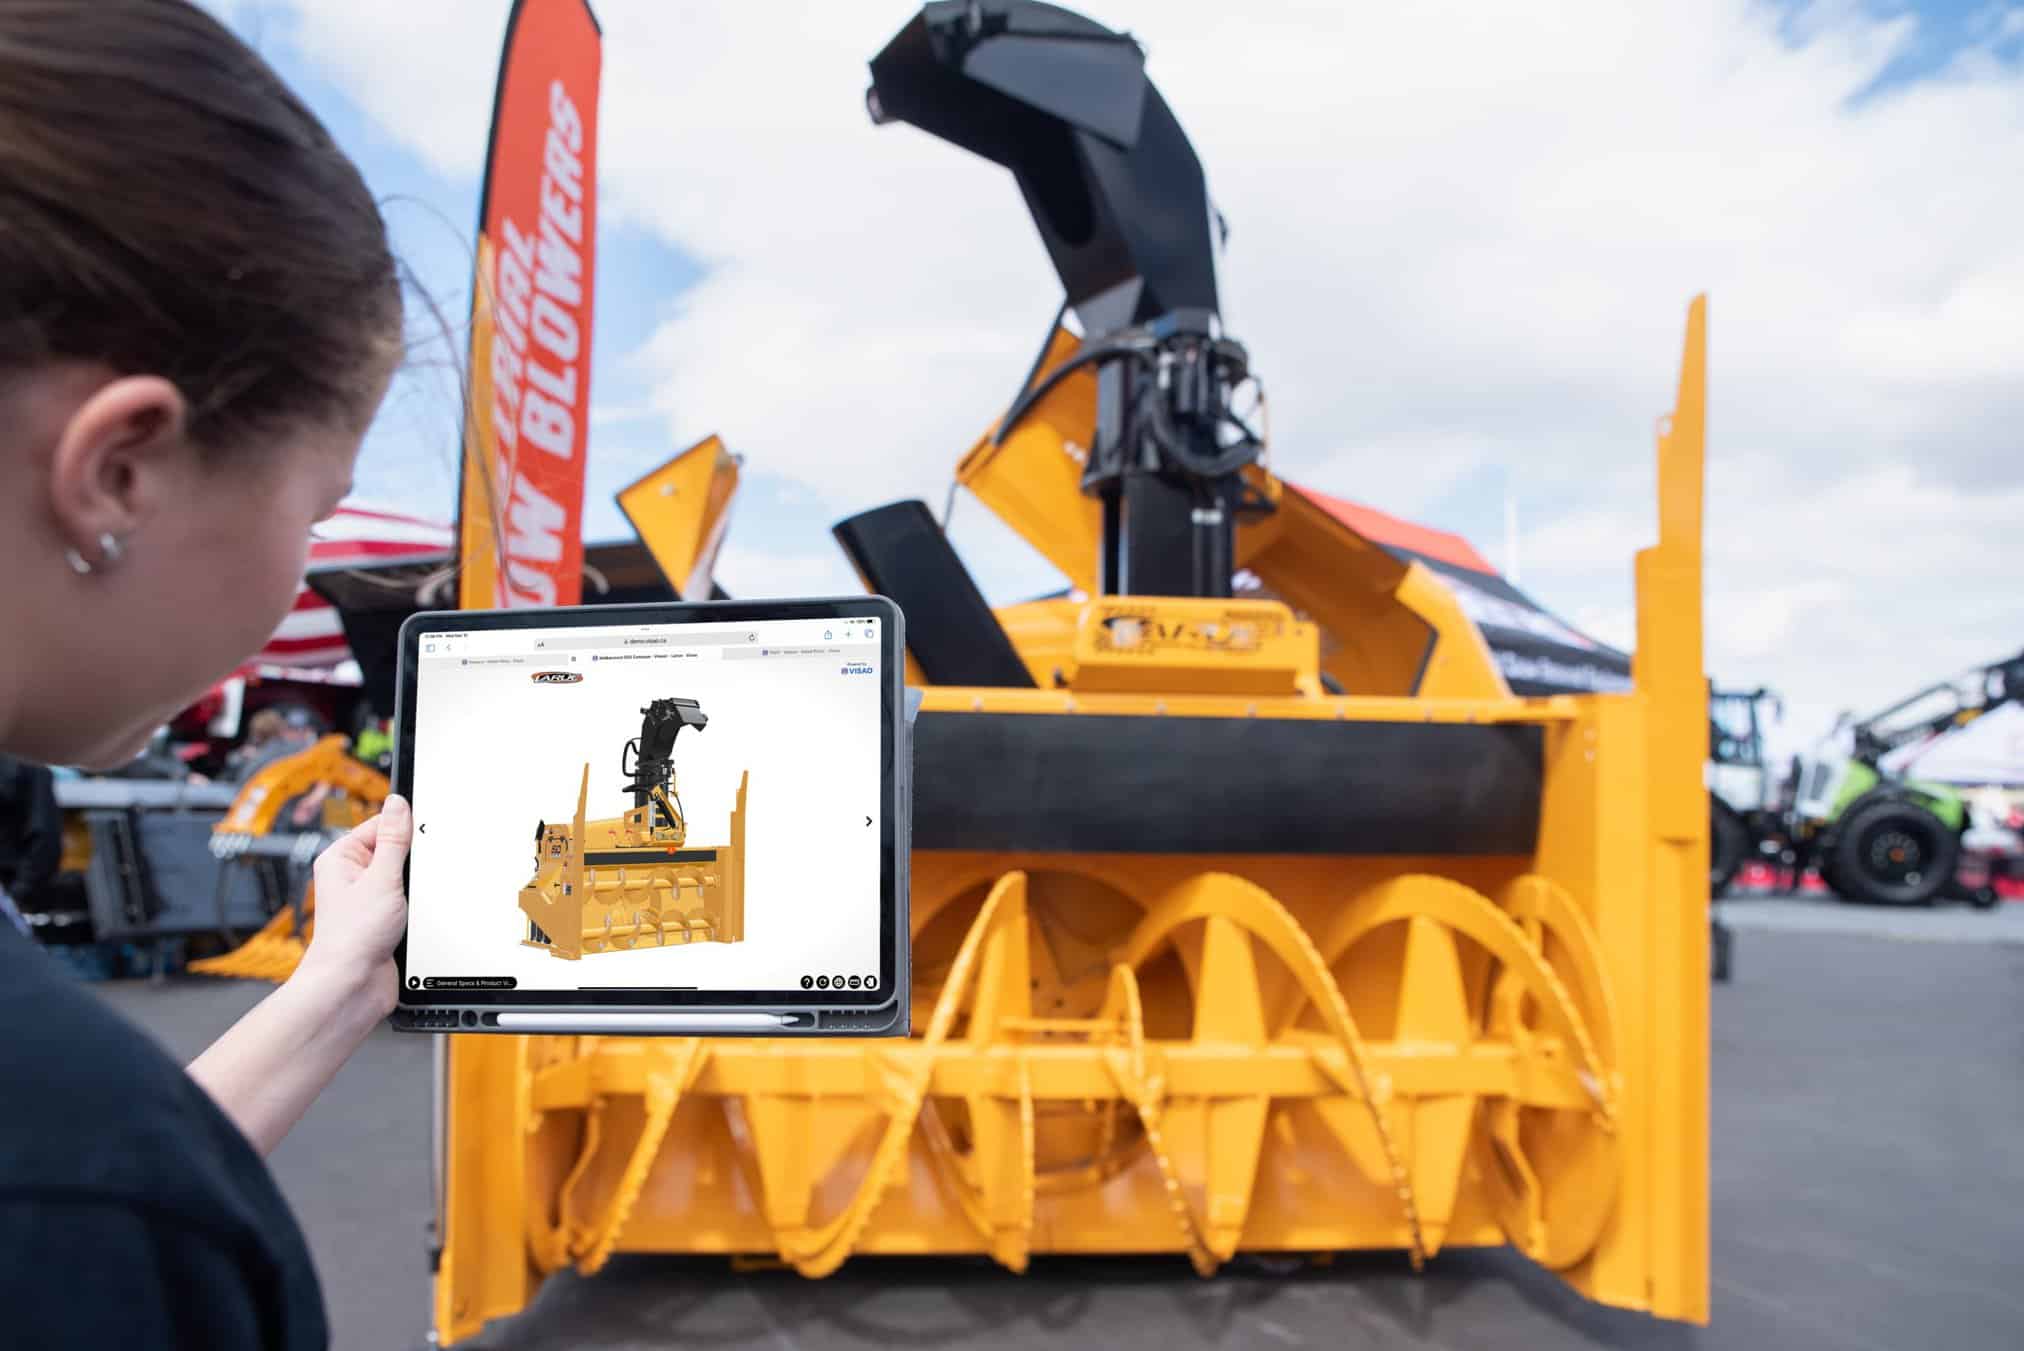
Visao offers in-house Blender experts ready to assist with your 3D visualization needs for step model files and as your CAD software assistant. Additionally, our web platform enables web-based visualization of your .STEP files, making them ideal for marketing, sales, and training purposes. Explore these resources to enhance your 3D modeling experience.